Link LIKE

Saturday, May 12, 2012

Crochet Large Fox Amigurumi


The Head is Orange, Do not stuff in yet.

Continue on with White yarn, from the exact stitch you stopped. (I would normally end off with a slip stitch, after the row is done, so i would slip stitch on the last sc made and sc on the white yarns slip stitch  and on it goes in round)

Wednesday, May 9, 2012

Samsung S2 Crochet Covers (Not Pouch)

Mom gave me S2 for my birthday, and i was over excited and ended crocheting these nonstop... most freakiest thing was, at the very same week before, Navles got the same s2 from his mom too! Ha double the fun. And to sweeten my excited heart, this week ICS upgrade is officially released for Malaysia? not sure about it though but am extremely excited! (Looks cute with Princess Serenity as the wallpaper! yeah, am pretty childish when it comes to personal stuff, who isnt?! hehe)


Okay back to S2 Crochet Covers :
The Best part of crochet covers are you dont need to remove the cover to click/tap anything even volume, just slide the finger at the corner and click it. I dont need to worry of the back or front surface getting scratched as long its placed down the right way! With just a gentle touch on the crochet to use the menu and back buttons, i could navigate through easily. It have a small hole for the camera and its so easy to make (Assuming you have been crocheting for sometime)!

BACK PATCH :
Start of from a long chain the  size of the bottom part of width length. turn and sc ill end and turn for several rows, when the height of the rectangle patch is at the "camera", at the turn, count stitches till reach the camera (roughly 3stitches). 

So "3sc turn 3 sc turn" (till the top of the camera), you should have one side of the camera patch done, since i dont cutting the yarn off for a separate 3 chain, turn 3 sc repeat rows for the other side... i went on with slip stitch all the way to the last 3 stitches and did "3sc turn 3 sc turn 3sc"

Done that, sc till the edge where the camera top would be, chain equally as the bottom of the camera stitches and 3 sc turn, sc back and again if it is needed.

Okay you got the Back part done. Two ways here : 

Either end off and make a new patch which i prefer

If you made 1 or 2 stitch smaller then the phone for the rectangle back patch earlier, do these, it will turn into that pink with ribbon. Neat!

Front Patch : chain till the same length of the previous patch length. work few rows of "turn, sc all" just like above, preferably 4 rows only. (This will be the front bottom rectangle patch) once the height reached near the top of the "menu, back buttons" (assuming 4 rows),  turn 2sc turn 2 till near the top of the screen (mine was roughly 14rows or less with g size hook) end off long yarn.

Do two front patch, turn one over, Sew using Mattress stitch at the 2sc corners. end off at a corner hide the yarn off.

The fun part, well to me... you need a really long yarn, (the soft pink) sew mattress stitch or whip stitch if you prefer it, Either one would do. (I used a b size hook and gave inc in all around the both front and back patches for neater look) Keep checking the size as you make!


or

Front Patch2 :  Continue on if you made a larger rectangle then the phone, with sc all twice, and um, tricky part... at the crocheting at the top side, 4 sc, turn, skip first stitch, 2sc, dec (the corner), sc all the way to the other corner at the other side top, dec, 2sc turn, skip first stitch, sc, dec, sc all the way to the other side, dec, sc, turn, dec, sc to the other side, dec... NOTICE the dec shrinks the corners and forces the flap of many sc to bend, well do the same at the bottom part. So either slipstitch or sc all the way to the bottom opposite and redo, 4 sc, turn. (The 4sc is actually the rows, it will later be 4 rows, because of the dec), done these slipstitch or sc back to the start of the "tricky part" and... well i'll leave this part to you to end off or slip stitch around for circular look.) (NOTE : THIS PATTERN IS FREEFORM so "4sc turn ...dec..." part are up to you, you can add 2-3 dec at corners to give a more tighter look) Keep checking the size as you make! 
(It will turn out similar to the below couples in shiny light brown, looks nearly gold as its nylon thread but weirdly it dont look anywhere as the picture turn out)


If its too hard to follow the pattern, will try to write down one when i make another again. Most of the covers are free form after knowing the technique to make it, so i dont think pattern is necessary since i love playing with different hook sizes, The Pink is g hook for the darkpink and b hook for the edge in pink while just plain g hook for the brown. The one on the left is hdc at the back patch while the one on the right is sc in back patch. The plain sc looks much neater.

Wednesday, April 18, 2012

Manga Eyes for Amigurumi Practice


Bonnie introduced me to "fiona mcdonald" and "ByHooksand Hand"... their dolls are just so inspiring!! Check them out for more pretty thingies :)

Oh btw : There is a tutorial on "ByHooksandHand" on Manga Eyes and Lovely Spirit Dolls!!
Which is what inspired me to try out "Manga Eyes" but... i dont know what satin is exactly and what are the tools used by "ByHookandHand". So instead of painting on with acrylic and ink, i chosed the easy way out... Drumroll... Tadaaah!! "TSHIRT TRANSFER PAPER"!!! 

Incase you dont know what im talking about (Since this is also my first time using it) : WiseGeek Explains it.

There are few Brands out there :
- Epson Tshirt Transfer Paper
- HP Tshirt Transfer Paper
- Forever Tshirt Transfer Paper  
- Showay Tshirt Transfer Paper
- Tesco Tshirt Transfer Paper  

 Anyway, I was thinking to try printing this below on the "TShirt Transfer Paper" with color printer ever since Bonnie suggested some alternative eye's for the amigurumi. So here im sharing the whole hour spent on photoshoping the eyes... and some just that were taken from the net since its just so cute the way it is :s )


Update : Disney Princess Eye Set and Mickey Minnie too... Missing Few Princess Eye's Though... (Snow White and Ariel are among the one's i havent do yet)

The one i print compact into A4 size page is below...


From Bottom Left upwards (Tiana, Snow White, Ariel, ArielBubbleEye?, Aurora, Belle1,  Belle2, Cinderella, Pocahontas, Mulan, Jasmin) The rest is Mixed up... Just to pack all eyes on a page. Note : Please do stretch the eye vertically if you want that large bubbly eye effect like Tiana, since for some weird reason my mom and the ladies here loved the big tiana eye which i accidentally stretched b4 printing. (decided to leave it such as it looks so sweet)

You design your own pair of eyes too, 
- once you draw a pair of eyes (MAKE SURE THE LIDS are BLACK and CORNEA WHITE)
- The Pupils in Grey or Half Toned Color
- Duplicate the Layers in Photoshop... and move the eye to somewhere you can see it.
- In Layer "Blending Options" (right click the layer of the duplicate eye) >> color overlay >> choose the color you want the pupils to be and change the blend mode to HUE.
- There, duplicate as many pair of eyes you want and change the colors. 
Ha Simple :P Or you could just download the one above.

After Printing, Cut it up and iron on another small patch of fabric and glue it on. im a little scared to try it on the amigurumi made of acrylic yarn directly... WHAT IF IT MELT?! err does acrylic yarn melt or shrink? Oh, IRON on before stuffing in the amigurumi ... I have no pictures for those yet though.But if anyone tried it with acrylic yarn, please send some "confidence" this way :D

UPDATE :

I wanted to place the usual back buttons like the baby dragon's eye, since it fit perfectly for the new large size ami i made. But instead i decided to try out with the printed jasmin like eye (suppose to be tiana, the printer didnt have much ink to give a darker color print on it) Oh i usually poke the hook into the eye area just to get a rough measurement of the eye placed, sometimes a yarn for marking the spot are placed until i decided on the eye. when sewing on, i would remove it and work on 1 thread 2 buttons to give a dent at the eye area.


Anyway, here i've already printed, cut down and iron on an old piece of white cloth that dont look white enough. (The Above picture is to compare which is better, my heart said the button looks good but i went on with my mind just for the testing some new things.)


There, after Iron on, i dabbed "nail polish varnish" on the eye to give that shine look, (Glad the nail polish is tinted pink it pops the eye out! Left it to dry overnight. Few hours would do but i did this at night. So in the morning i glued them on and left it aside again! so the glue dries off. Noticed few white fabric at the corner, didnt like the stick on effect, so i used a permanent black pen to "dab" lightly the corners. (Careful, over dabbing it will smudge the eye like i nearly did at one of the eye. you can see the over darkened eyelid at the bottom of the pupils.(Not much noticeable since i've cut that part off :P)

So now ive played with "eyes" and still chose the back button and beads eye as my fav, glue varnish and more sticky stuff is slow and takes utmost patience!

 Thank you for reading, if you have any suggestions on eye and Hair (The Dreadful part of amigurumi) please do share, im almost lost to an extent of quitting human style amigurumis since none of the "male" hair do's are "fun" to do. (Dont think will be posting any hair tips till i actually have enough yarn/ thread to waste on hairs... Just dont have the heart to NOT CROCHET the hair... heart vs mind)

Monday, April 16, 2012

Mini Baby Dragon (Keychain Size)

Based on the Medium size Baby Dragons. Had this pattern Quiet a while now, but never tested it till recently till i "dug" up my messed up patterns in a pile of plastic bag. Its so small and cute that it only fits the "Tiny Baby Dragon Wings". Making the wings are a little tedious to me, so i never made it much.


Wing : Vampire Wings


Made this for a friend, and sharing the wing pattern here, (Sorry for the bad quality pictures, the Dragon in purple cant turn out as pretty as the real one... it turn blue somehow...)


Since i got too excited crochetting, i didnt write down the body pattern... so i will have to try making another one, too bad it may never be like the first one... (This one belongs to Bonnie!)

Friday, March 30, 2012

Wing : Fairy Wings

Wing Collection: Sweet Fairy Wings
(can be plain angel wings actually though it dont look like it)
Medium size wings...


Miniature Goku (Dragon Ball)

Miniature Collection... 

Previously the Miniature Collection was placed under one page, now it is broken into Individual format. I might have forgotten some stuff here, oh the wristband was surface stitched around and the eye is plain blue bead (3mm-5mm).


Hook Size : B (2.25mm)
Yarn : Acrylic "Nona Brand" (Slightly thinner then lionbrand)

Miniature : Monkey


Hook Size : B (2.25mm)
Yarn : Acrylic "Nona Brand" ( Just like vannas glamour size lionbrand)

 Note on Abbreviation used often :
inc = Increase
dec = Decrease
sc = Single Crochet
Additional Note : This is not doily, so when it says "5sc inc in all", it means "sc, sc, sc, sc,sc, inc" then repeat it till end of the row) 
The "Magic Ring 5 Chain" is a typo, its just 5mg or 5 magic ring / circle.


Baby Monkey (No heart to ruin it with Ears... Its just Cute the way it is lol). The Face was Drawn on with permanent Black pen. Its crocheted with 2 colors, this is also my first time writing mixed color crochet pattern. Any mistakes please feel free to comment. Thank you :D
Previously the Miniature Collection was placed under one page, now it is broken into Individual format.

Miniature : Ganesha

Mini Ganesha re-sized version of the larger one...

Miniature Collection... Little Ganesha's Eye are Green beads (3mm to 5mm?)... and probably added an extra row of (sc in all) at the tummy with random inc at the front to give the bulgey tummy look. Though it did not turn out such so below is the default tummy of most of my miniatures.
Previously the Miniature Collection was placed under one page, now it is broken into Individual format. 


Tuesday, March 27, 2012

Liebster Award

I just receive my 1st Liebster blog award from Sharon of Homemade Obsessions. Thank you!! Feels like teleported to an evening red carpet Glitz all of a sudden with no clue whats going on lol. Though im feeling extremely lucky to receive this! Thank you again Sharon :) Oh Im not sure exactly what Liebster award is exactly, but it sounds Great!! :D For more info please check out Sharons Explanation of Liebster.


So i have to choose 5 Next LIEBSTERian... Tough... I wish i can give to all Bloggers but this is liebster award rule, so here goes :


1. Elizabeth at Elizabeths Lace 
(Picked randomly from google : I Enjoy her detailed lace work, its so pretty!)

2. Nuschinka at nuschinka 
(Picked from blog readers : I dont understand what she wrote there, but her site has pretty card crafts that is inspiring to me, "Soft and Delicate")

3. Monali at deltazelta
(Picked from my Dashboard Reading List, this site populated the entire reading list! Never seen a dedicated nonstop blogger in crochet before :P)

4. Mike at The art of krome
(Picked from my Deviantart list i watch, One of the Amazing painters i looked up to when i joined Deviantart)

5. "J" or Aspie at Letters from Aspergia
(Picked from a craftster.org friend)

Please do check their wonderfull blogs above... And hope everyone gets a Liebster Award too!

Oh i almost forgot... 5 random facts about my self :

  1. I live in my fantasy world more then reality and would get blur too often in reality due to this. We always live in many world and its all in our head! Wished i had healing magical power like a shaman priestess with water element.
  2. Oh i Like Bugs, Insects, Reptiles, Amphibians, Mammals but NOT Birds and Fish... Y? If i like them i would be vegetarian :P
  3. I Love eating DURIAN (grade D24) the worlds smelliest Fruit and Yellow Sweet Mango. Yum!
  4. The First guy i ever wanted to marry was "Prince Endymion" from Sailormoon, Usagi grabbed him from me lol!! kidding... yea my first crush was a comic character.
  5. I did the chicken dance last year and still do it in room with my bro when we get excited! (Its fun and funny, you should try it too!!)
Im Done :P (Couldn't get on PC with net for so long!! finally did and its only an hour :(...  )

Saturday, January 14, 2012

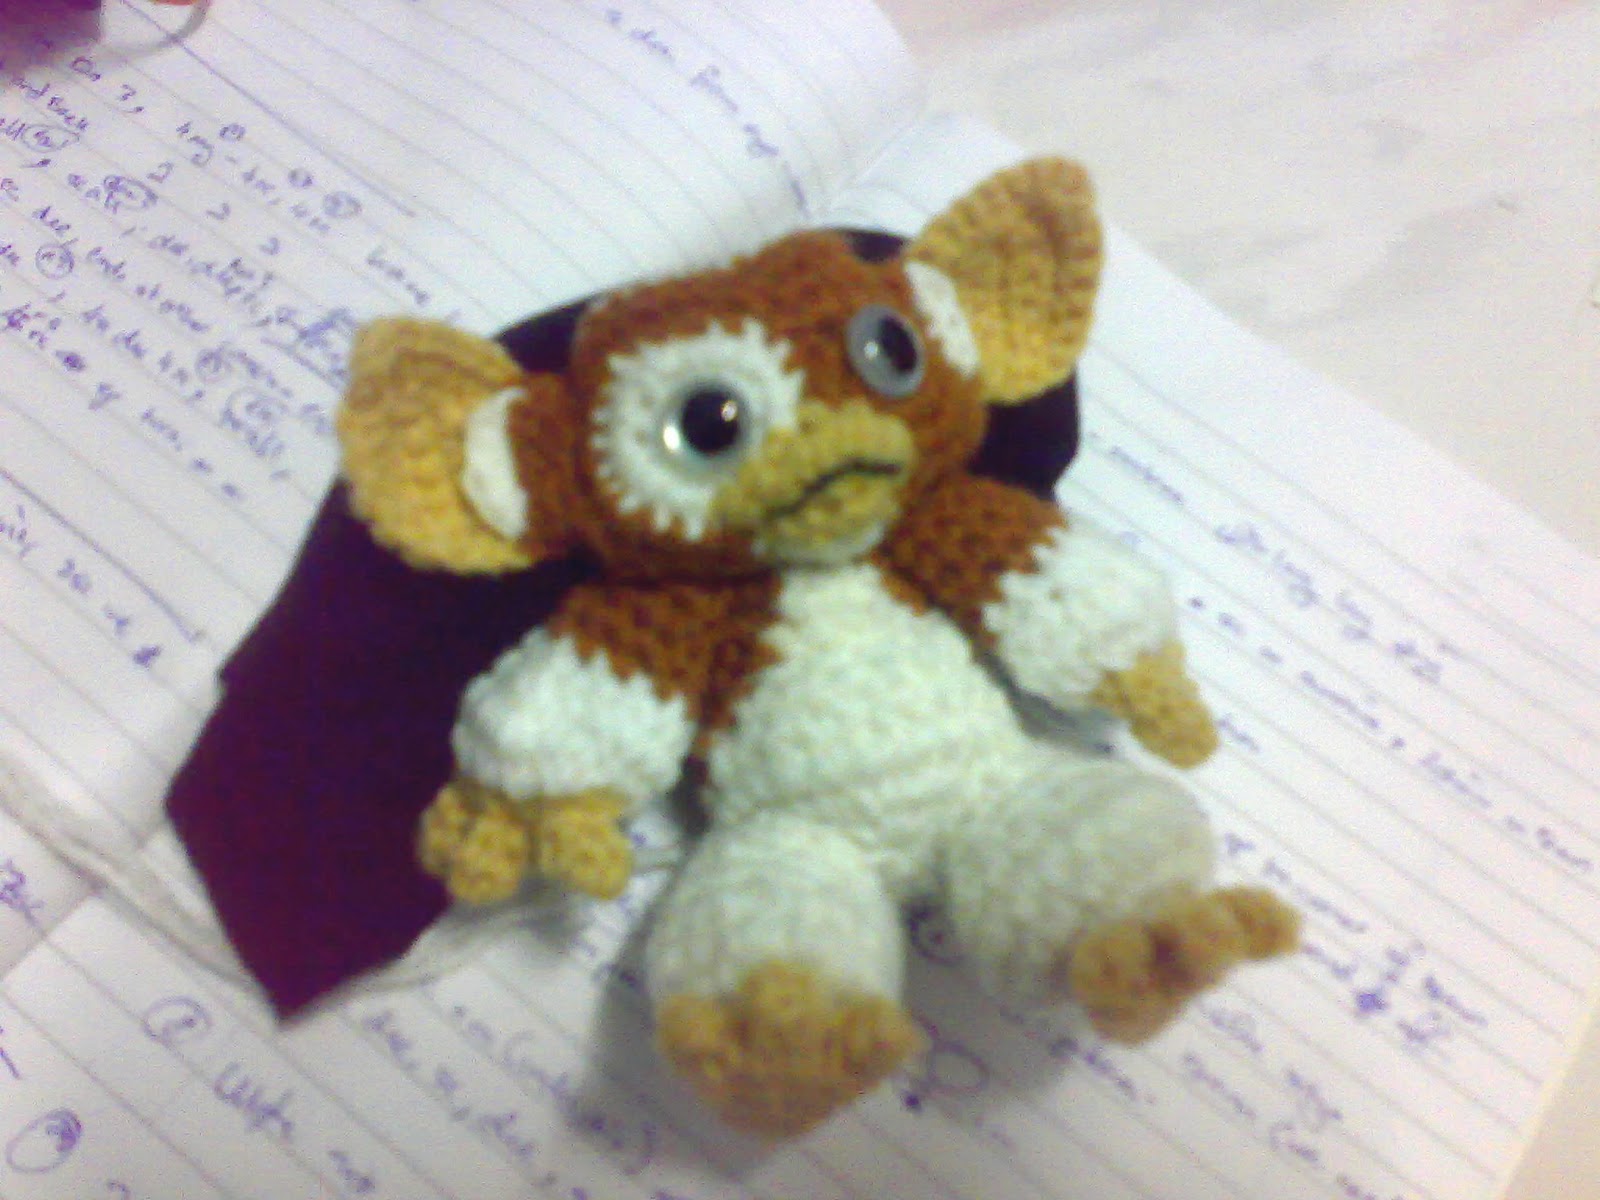
Gizmo Amigurumi another missing project

Gremlin Gizmo Work in progress


Since i have been inspired by gremlin last november and been working on it, though... I couldnt get my first try amigurumi pattern written down as this time its extremely complicated methods as usual. Nope i just cant give up so i made the pink version.
Last year june till december was in extremely "anti-net" world i live in and now its getting better. compiling all the messed up pattern works i made during those time are gone with the clean up clutters. Made the first just the head at the top with weird eye button (just ordinary button), then the remade version turned out great but i didnt write down the pattern the second time... so i made the pink head next, which seems to be similar with the second one but again its hard to write down the pattern exactly. So here is no pattern version of gizmo... Okay enough with my mumbling... (Conclusion... No Pattern available till i get my mood swing to make better heads of the quality i wanted)


Here is the Messy Method i used (Not Complete Pattern) :

Monday, January 2, 2012

How to write Amigurumi Pattern draft before Making it with Yarn

Happy New Year, Belated Merry Christmas and Soon to be Chinese New Year!! Missed out alot on this festivities and holidays. So to make up for it, here is some "Wisdom" and also reasons why my pattern scribbles always get messed up and missing...Yikes... Sorry.

Here is a demonstration on how to imagine out the potato body before even making it... Just for learning purpose and you will be undoing somepart along the way. Have patience and Confidence :D


Saturday, December 17, 2011

Gryphon Amigurumi Pattern

Gryphon Amigurumi (Updated by Shara)


After a long harsh moments in life, im finally able to fix this post the way i do, but im not willing to do much changes on the pattern below till my hard moments in life gone. For now, the pattern below is just draft. My scribbled up notes were gone in this few months and i manage to "sms" text them to NavlesDA so he could upload them, though might have a few mistakes but overall it works. the simple body with no neck pattern was missing, so for now the pony body is substitute. Sometimes when things are hard in life, everything just gets messed up along the way, not easy to untangle from this mess and even though i keep my pattern notes in a file, the notes that i didnt write down that comes naturally in mind is missing.

Saturday, October 15, 2011

Baby Grifin / Gryphon Pictures Only

For now just pictures, pattern will be updated as soon i remake the exact wings,
And improve the back legs, it just dont feel like a fierce lions feet... then again, when did amigurumi looked fierce in the first place?

Sunday, October 2, 2011

Basic Music

Okay, i have no knowledge on music writing or reading, but im so facinated with music that its already years in my to do list. So why not learn it through the net i told my self and walla!! I found a super awesome tool that turn my PC keyboard into Piano!! ("shh... i googled for the full version crack")

I made a midi short sound clip for my phone, and to me a novince, its pretty amazing!!! Err dunno how to upload it here so it gonna take sometime...

But anyway here is the software
http://download.cnet.com/Keyboard-Music/3000-2133_4-10396319.html
or
http://www.hitsquad.com/smm/programs/KeyboardMusic/

and ... the crack just google it out, download the keygen and use it to register :) the best part i love of this software is the "String Ensemble 2"... It just soooooo beautiful... if you love melodic orchestra type music.

Baby Asian Dragon Amigurumi

Baby Asian Dragon
This is a mistake turn out great, well if there is errors in the pattern here (This is the original pattern that have not been tested out yet). I hope that you can understand the technique, so you know where the other part of the circle starts and ends. Just a note, the part where you have slip stitches, please do not do it tightly, or it will look weird.

Pattern Below :

Little Pony Version 2

Heart vs Hate Pony...
The horse/pony/unicorn/pegasus feelings kicked into me again. So here is the second version of pony :)


Patterns Below :

Thursday, September 8, 2011

Miniature : Fox Kyuubi Amigurumi

Hook Size : B (2.25mm)
Yarn : Acrylic "Nona Brand" (Slightly thinner then lionbrand)

 Note on Abbreviation used often :
inc = Increase
dec = Decrease
sc = Single Crochet
Additional Note : This is not doily, so when it says "5sc inc in all", it means "sc, sc, sc, sc,sc, inc" then repeat it till end of the row) 
The "Magic Ring 5 Chain" is a typo, its just 5mg or 5 magic ring / circle.


Due to a friends request and design, Mini Nine tails fox were made...
Its not as simple like the other miniatures i made, this is kinda tough, the tricky two color mode and the nine tails it self was painful... yes literally painful to my fingers as to flip the sharp point inside out as all of my patterns are inside out.
The Larger Version of this Fox is Here .


The below in plastic packs is on sale at moms shop, it is also made from the fox pattern, it kinda fits to most creatures, just change the ear and tail and expression... (Sorry, i lost the big fox pattern parts and dont wanna make em again, The pict of the big one is here )


Patterns below... Sorry need to click it to read...

Celebi Pokemon Amigurumi Development

Pokemon Celebi
(Project in pause for few weeks more, out of green yarn... )

 COMPLETED!! But as usual lazy to type down the pattern (=.o)


Okay making the head with two tone color of Black and light green is kinda tough for first time doing something from sketches and not directly from mind like i usually do. the small head was made first, but i wasnt pleased with the size, though it turn out just as i sketched, but the second head went awefully wrong though some what had that feeling of " I just must do this complete first before judging whether its satisfactory or not"... So i did the Bigger head first...


 Had to do the bigger head first, and realize YES!!! The bigger head is better, just need to look alot more like the smaller head with black patch. Or maybe i shouldnt have made the black eye patch, but i seriously hate painting over black patch as it doesnt feel nice. So maybe the 3rd head i make of celebi will be better... Aint giving up on it till i feel life in it.

Here is the completed First Pokemon Celebi Amigurumi (Similar size as the Pokemon Mew i made) The 3 Baby legends will be complete with the next one later on. For now, this one is completed on my plate, Bon Appetite :D hehe kidding :)

Will upload the Pattern when im actually satisfied with this...

Saturday, August 27, 2011

Pokemon Mew Amigurumi or so i think


I was trying to make a White Cat halfway got distracted after months i forgot what i was making without referring to my notes and after finishing i realized it suppose to be Chinese good-luck kitty but with a little mixture of cuteness it turn out into that white little "baby version" of Mew if Mew can look more "baby" like if possible :) Seriously i should focus on finishing something then dragging it for months, see what happens... :)

Pokemon Mew

Pokemon Mew with Bow and Bells (I love Bells)


Mixup Kitty Pokemon Mew


Pattern Below :

"Its a Pokemon!" thats the reply of a friend and so i decided to make a more actual look of Pokemon Mew and walla it turn out like the pink one above and Kawaii!!! I used the Pattern of Baby Dragon body again :) Its easy to recycle patterns then making one, infact i made a redundant White Baby Dragon Body and thought to turn it to kitty. Hehe..

Mew Head


Mew Ear
 
 Arm and Leg


 Dragon Body used in Mew
For the Tail, its similar to Arm, but at 3rd row replace with sc inc instead. and 5th row repeat sc in all and ONLY 1 Dec randomly or non till its long as you want.

Dragon Body may be a little altered if you want, by skipping row 6 and or 7, it will be just fine.
The Luminate